

 1462
1462
Set up syncing
-
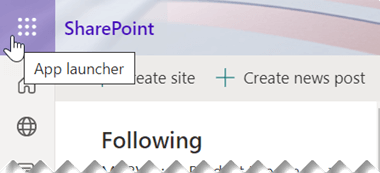
Near the upper left corner of the browser page, select the Microsoft 365 app launcher:
-
From the menu that opens, select SharePoint or Teams, and then select the site with the files you want to sync.
-
Select Documents or navigate to the subfolder you want to sync.
-
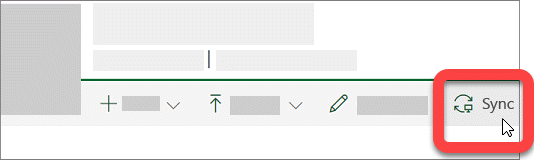
Select Sync. (You only need to do this once on a computer to set up syncing on that computer. After you set up syncing, the files sync automatically.)
-
If your browser requests permission to use "Microsoft OneDrive," confirm that this is okay.
Important: If a screen appears stating "Which library do you want to sync?", your site hasn't been set up to sync with the OneDrive sync app. If you're the IT admin for your organization, see Let users sync SharePoint files with the new OneDrive sync app. If you're not the IT admin, and your screens don't look like the ones in this article, see Sync SharePoint files with the OneDrive sync app (Groove.exe), or contact your IT department.
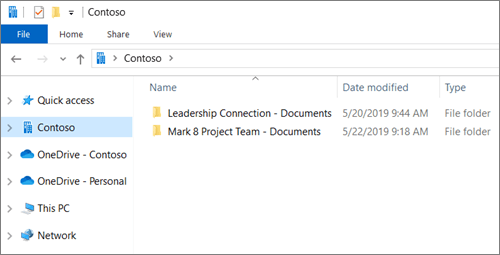
The files then sync to a folder on your PC that has the name of your organization (for example, %userprofile%\Contoso). This folder is automatically added to the left pane in File Explorer. You can’t select to sync to a different location.
5. To sync the files on another computer, go to that computer and follow these steps again.

